Figma tutorial: How to import a project from Sketch to Figma
Figma Tutorial: How to Transfer a Project from Sketch to Figma
Many designers continue to work in programs familiar to them, such as Sketch, even if new programs, such as Figma, have surpassed them in terms of functionality and capability. Figma has become the market leader, thanks to its deep functionality. Its benefits include:
- Compatibility with any operating system, not restricted to MacOS (like with Sketch).
- Easier teamwork: all team members can work on the same file at the same time.
- Autosaving enabled. Update history is stored on the cloud.
- The transfer of the project to the development team does not need additional programs; everyone can work in one file.
- Many functions automate the design process, accelerating the team’s productivity.
- Anyone who has a link can comment on the design—editorial, leadership, marketing.
However, Figma’s sophistication presents a learning curve that must be overcome.
Learning to transfer a project from Sketch to Figma can be a good way to begin to learn the program for new users. This Figma tutorial will focus on the transfer process of layouts and how to simplify this process.
Figma and Sketch are similar—but aren’t compatible. This means you cannot open a Sketch project in Figma. Since they are different graphic editors, many objects are distorted, affecting their design. Here is an example of how objects are distorted in the transfer:
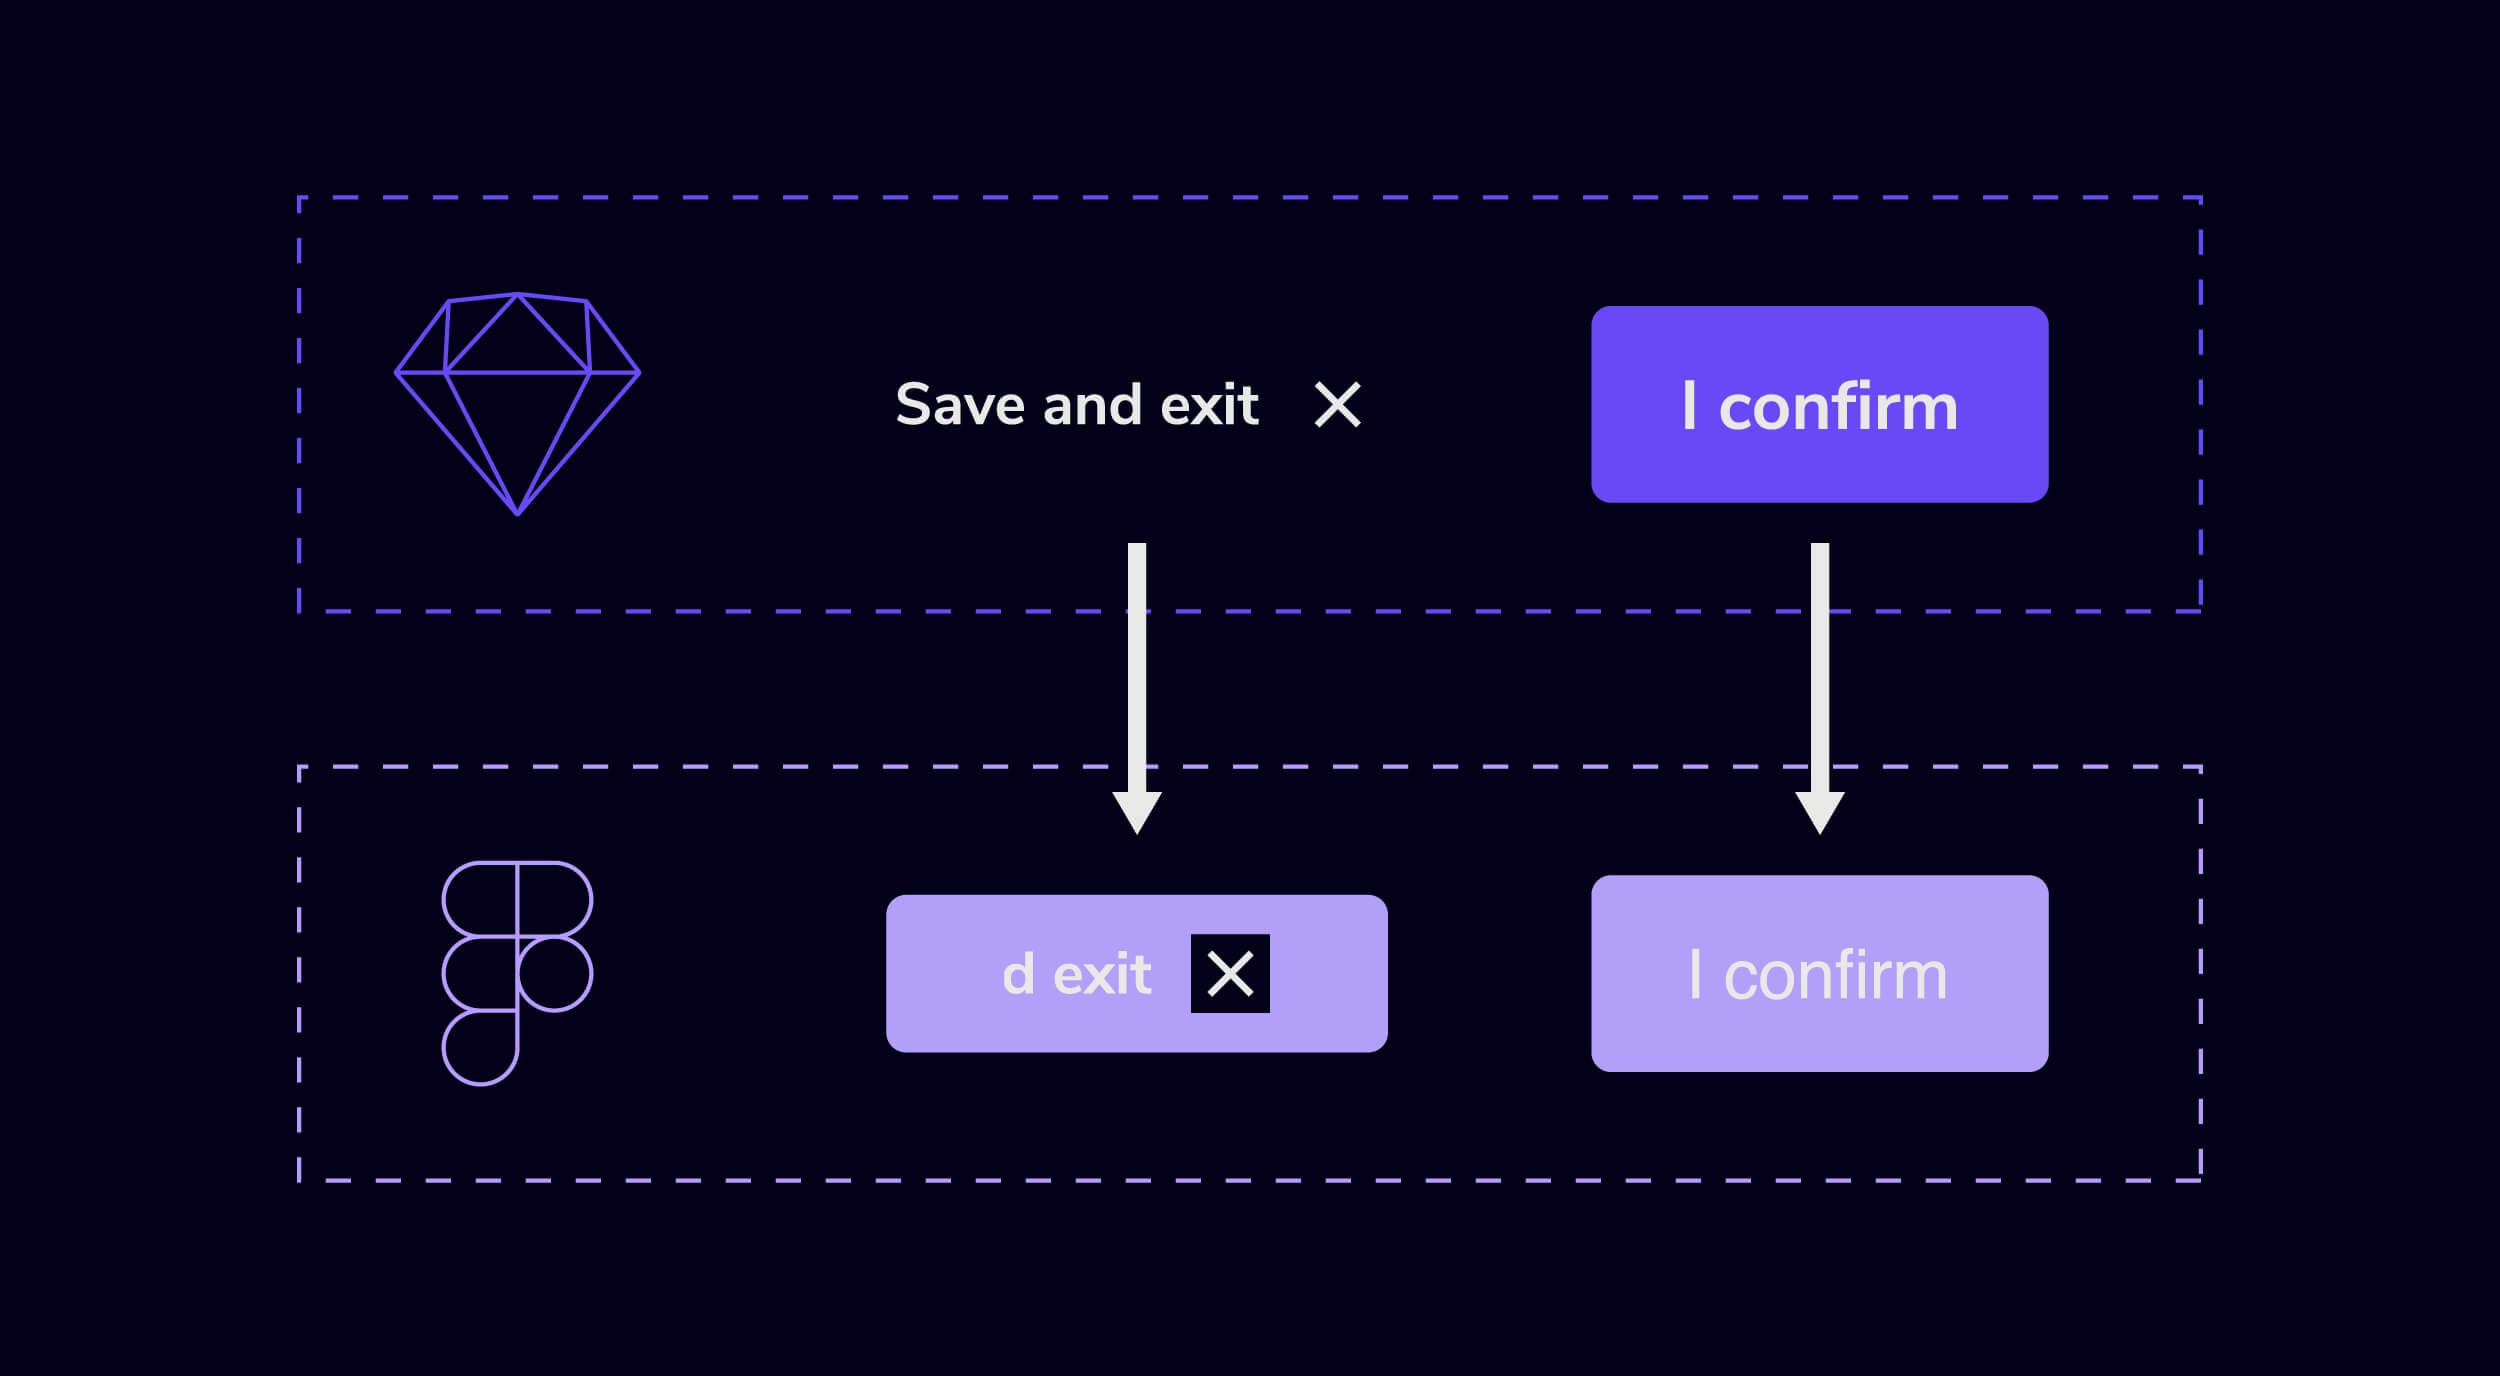
How to import from Sketch to Figma and save the design
Below is a step-by step guide for preparing to transfer your file from Sketch to Figma without distortions and losses. It will walk you through two main tasks: creating the library and transferring the project.
1. Create the library with components and styles in Figma.
1.1 Create a new file in Figma. This won’t be a working file, but a file for the library. In it, we will collect objects that are often repeated in the project and then customize their appearance. In this way, we will create object templates that can be changed and not configured every time from the beginning. Figma allows you to make them very flexible, so don’t skip this step.
1.2 Redraw all frequently repeated components to this file (Buttons, Accordions, Cards, etc.).
1.3 Make them flexible (customize constraints). This helps to create a responsive design and many similar components in the project (for example, a dialog with different widths for different purposes).
View how on YouTube.
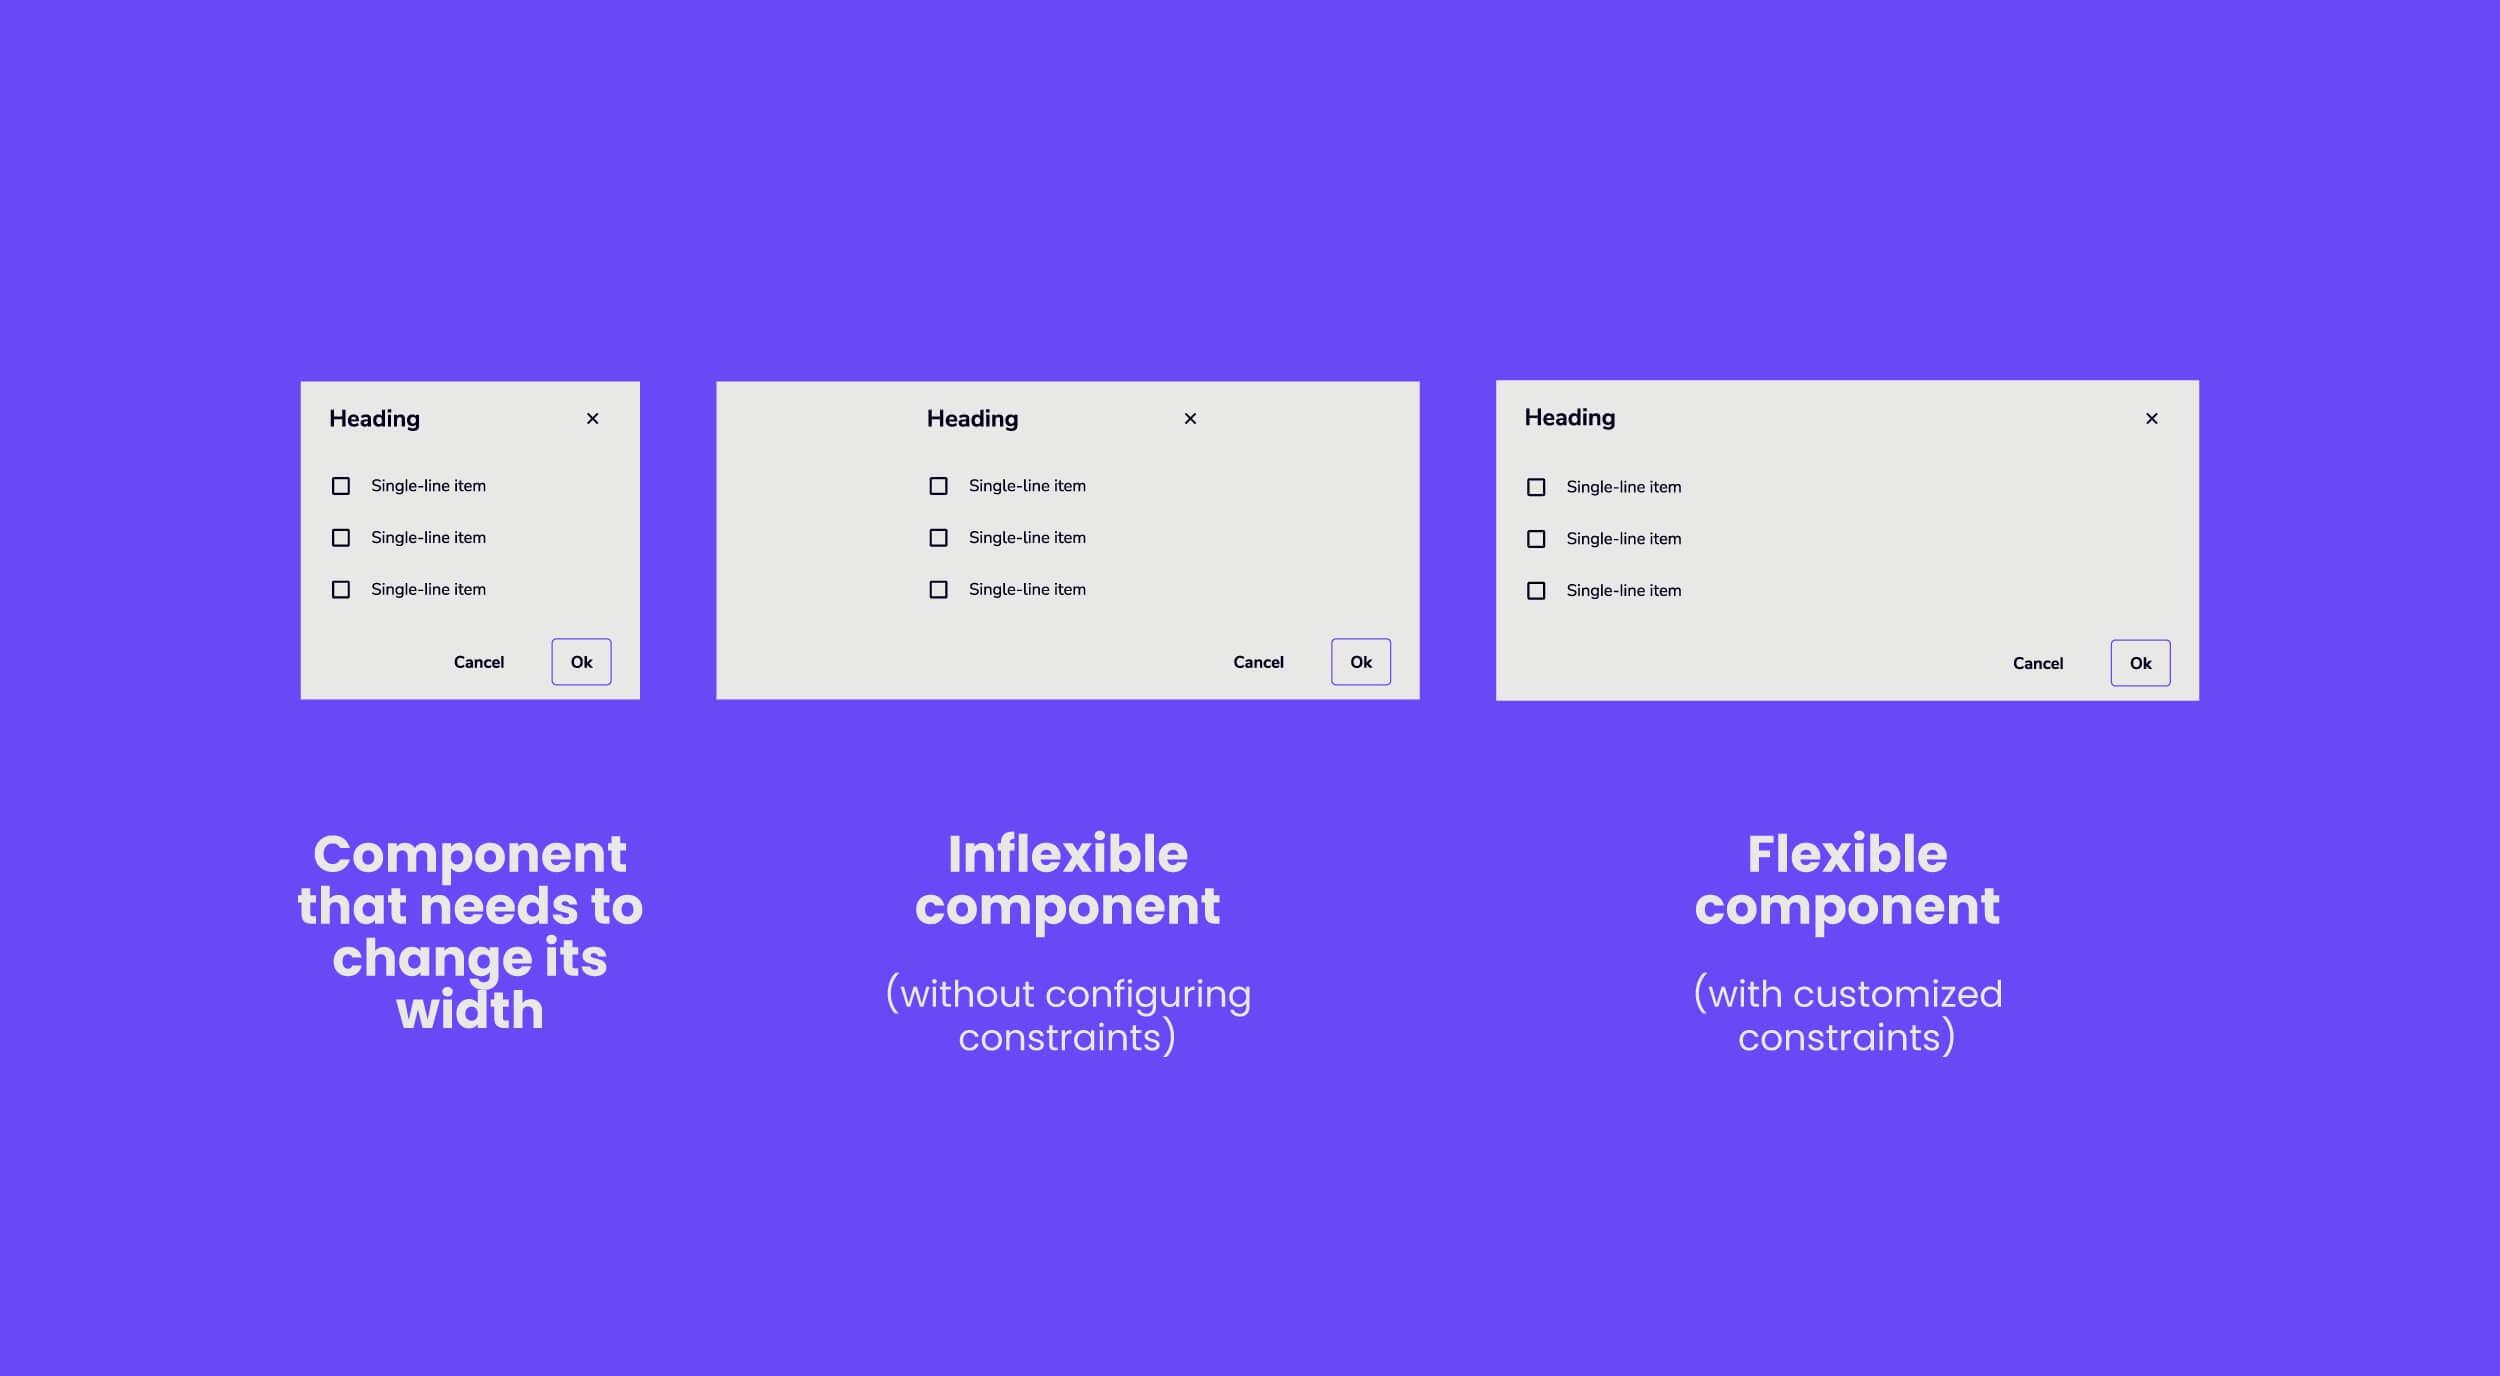
1.4 Add clear naming for objects (for example Button, Checkbox, etc.). These may be the same names as Sketch objects. This allows easy to find the component in the project when we link the library to the working file.
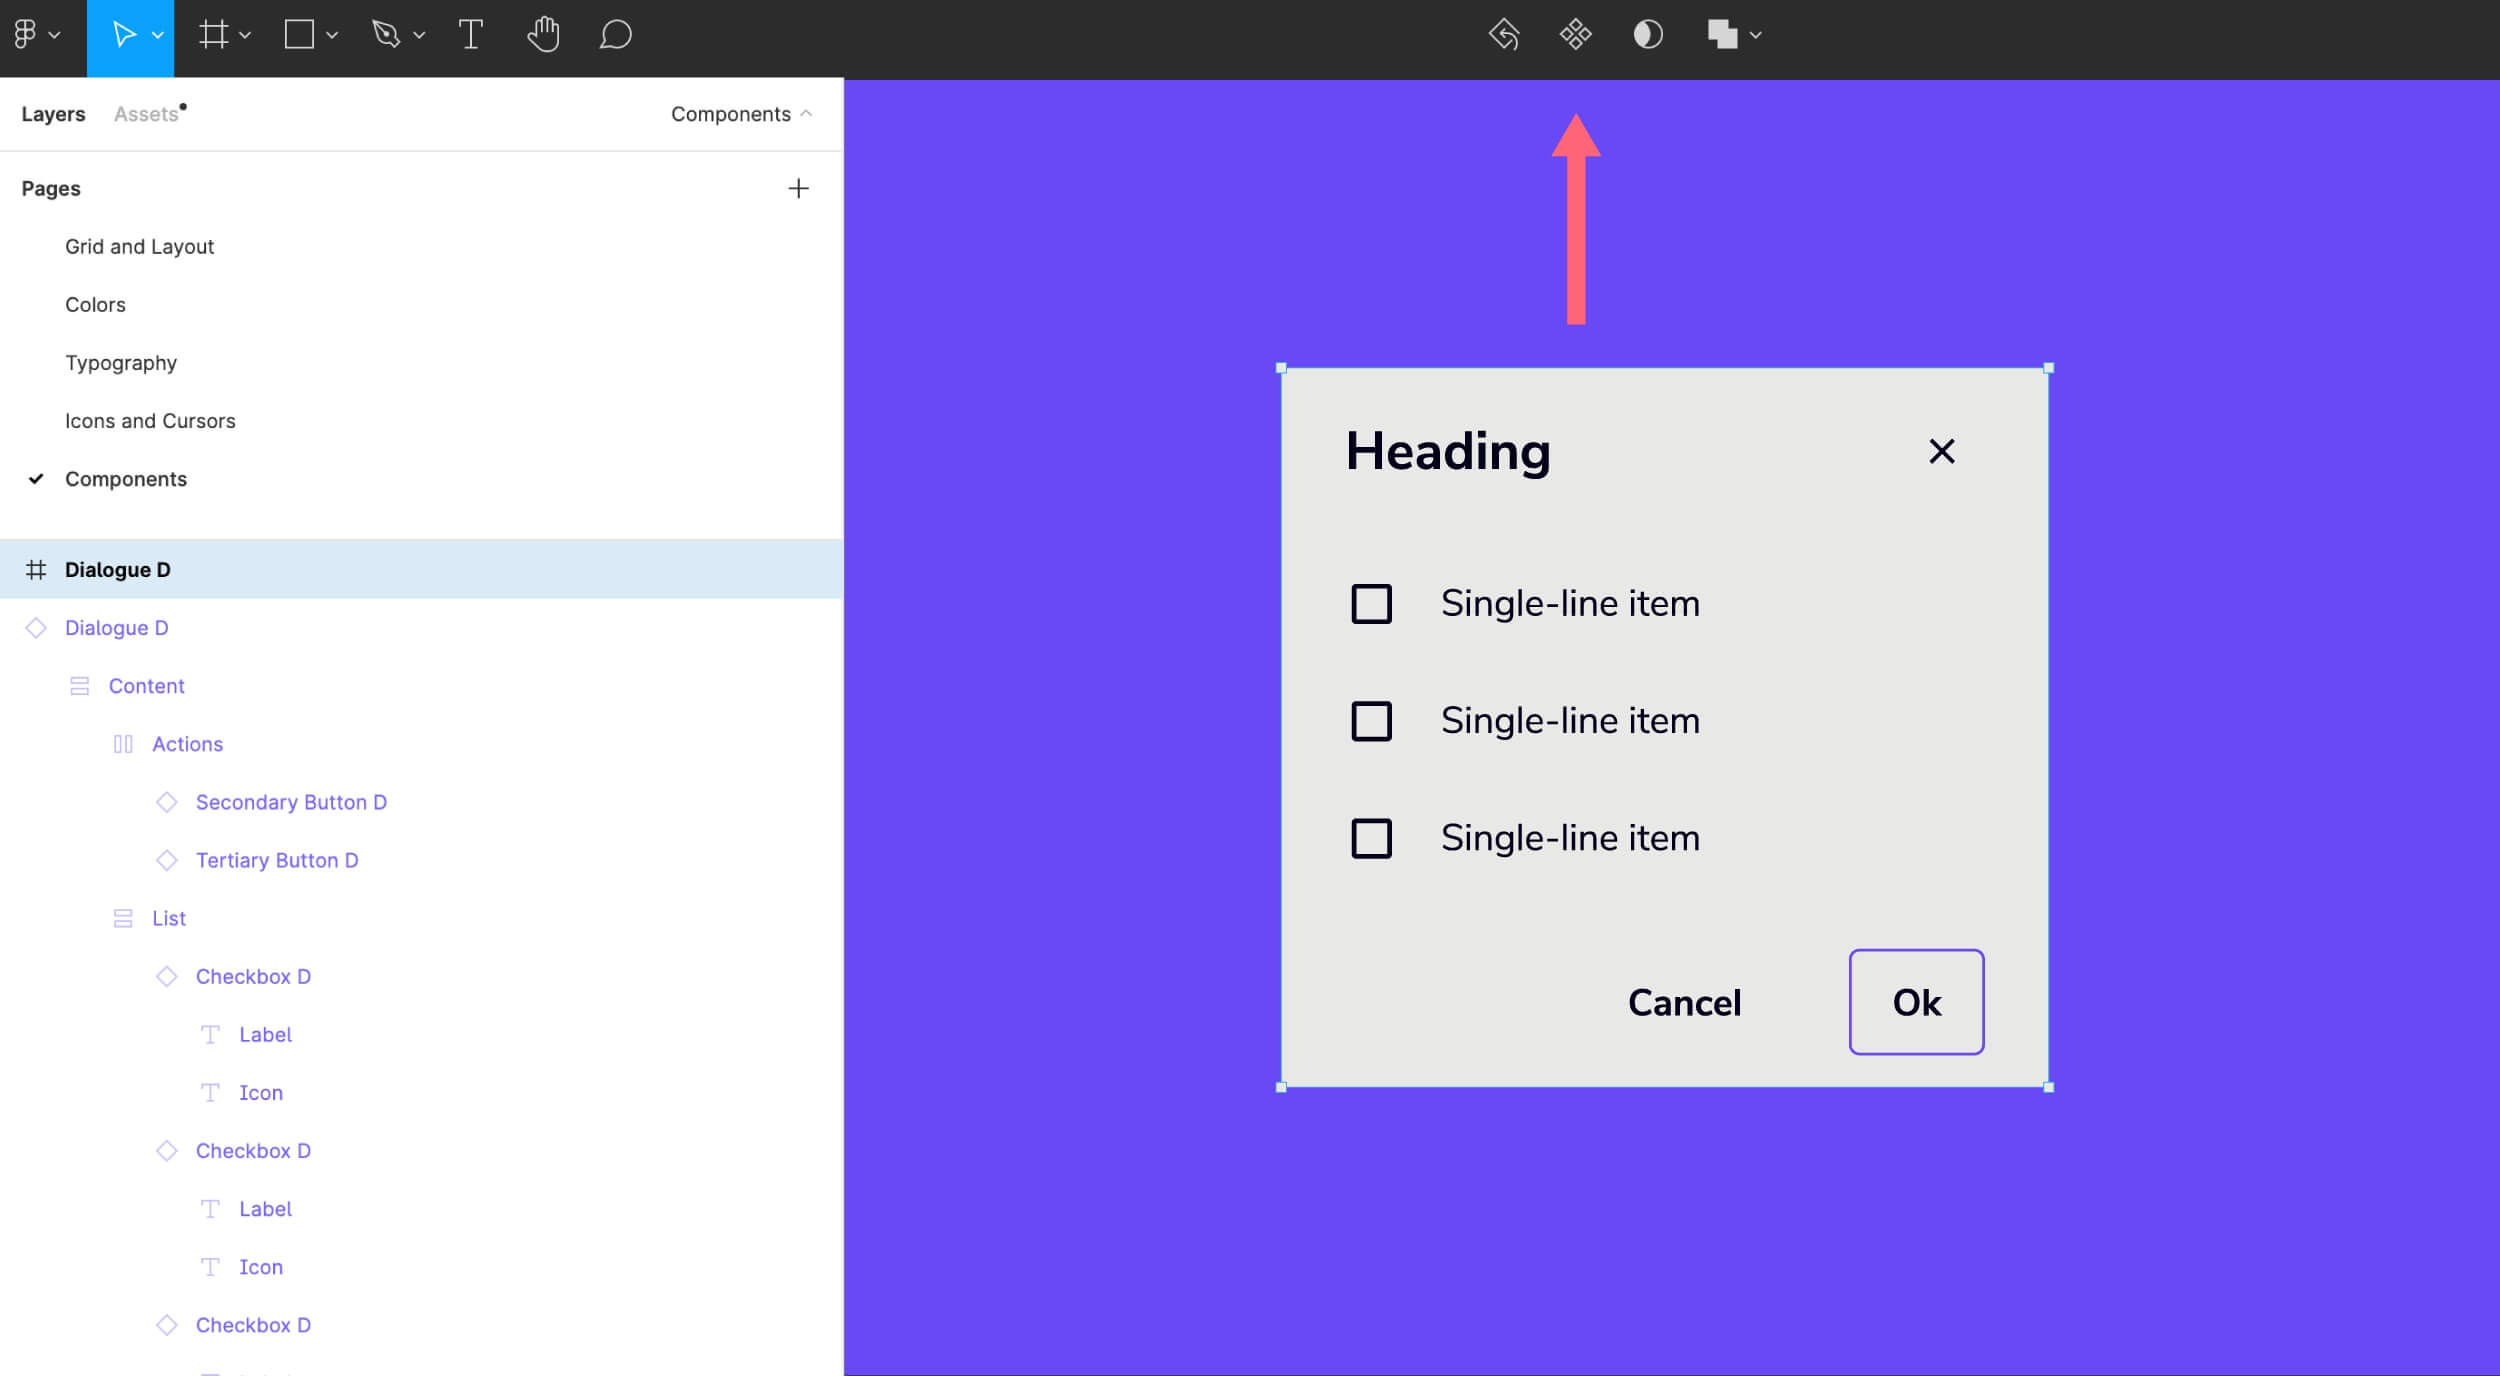
1.5 Create parent components so that child components in your design inherit the parent’s settings. To do this, select the object and click on the create components button at the top.
1.6 Add the different states of components and combine them into variants. This will help you quickly switch between the states of the component (for example, change the Primary label to the Error label without setting the color and size).
View how on YouTube.
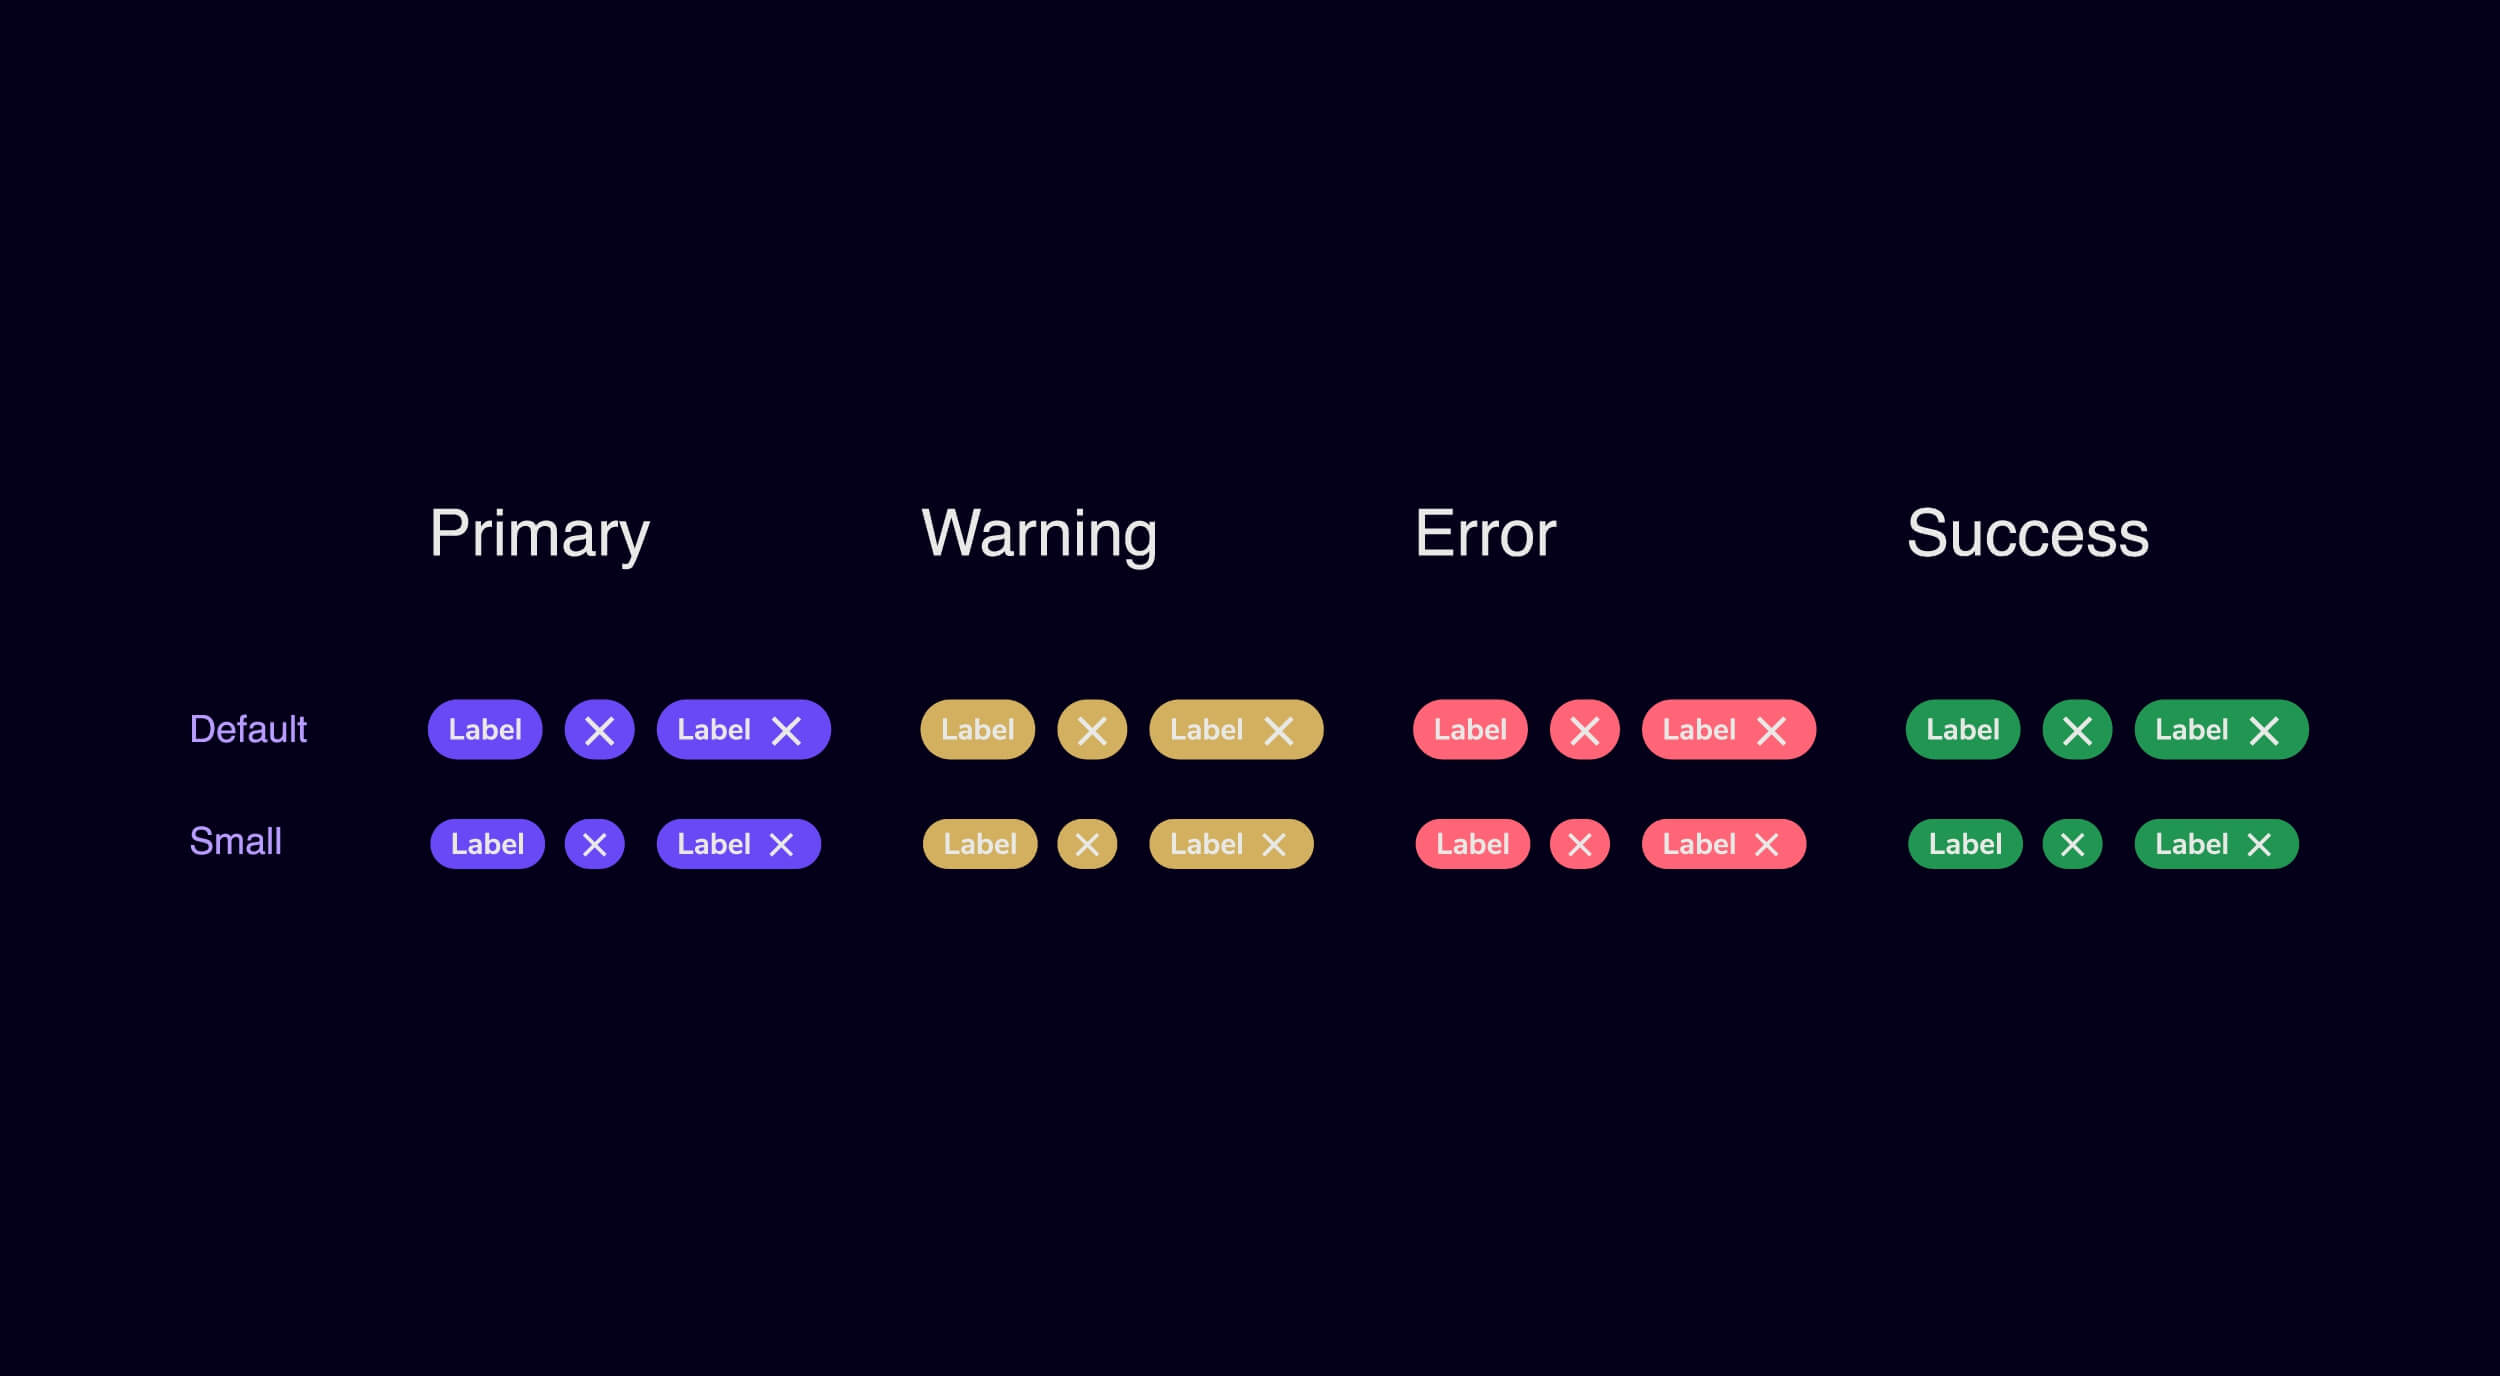
Figma also lets you create styles for colors and effects. For example, you need to change the shade of red for all red components in a project. If we make changes to the style of red, then they will be applied to all objects to which you have linked this color.
2. Project transfer
With library components set up we can now begin to import the project from Sketch to Figma.
2.1 Create a working file in Figma
2.2 Link the created library to the working file. After that, all changes in the library will be duplicated in the working file and it is no longer necessary to open the library file to add a component to the design. To search for a component, enter its naming in the search box of the Assets tab.
View how on YouTube.
2.3 Redraw layouts using components from the library.
Based on the created library, it is easier to collect new pages. We already have Lego bricks (Components), from which we need to assemble figures (Layouts).
- Copy the required screen in Sketch, and drag it into an open working project.
- Redraw the objects of the screen using components, fonts, colors from the library.
- Objects that are rarely found draw anew.
Tip: To speed up your work, you can import the entire project from Sketch to Figma and use distorted layouts as the basis for the layout design in Figma. But be sure to check them against the original screen.
How to do this: Drag the Sketch file into the Figma Draft. Add exactly the whole project file, because a separate layout is added as a screen, and we need an editable base. When creating a layout, copy the required layout from the transferred project into the working file and work with it.
Simplifying the transfer from Sketch to Figma
Tidy up pages. Name layouts and components correctly, arrange layouts in a logical sequence, rename each page according to content, and more. Design all pages in the same way so as not to get confused and not to confuse the team members who will be working on the project. This is especially true if the team hasn’t worked with Figma before.
Import Sketch layouts as a design base. If you have never worked in Figma, then this is a great way to master a new tool. Taking into account the fact that you do not need to be distracted by creating a design. You just copy what you worked on in Sketch and add components from the library.
Create structure from the start. If you don’t have a file structure in Sketch, it’s best to start creating it in Figma right from the start. Thus, it will be easier for you and other team members to work.
Use styles in Figma. For example, text fonts are very flexible—you can add different colors and alignments for the same font style. Now you do not need to create separate H1 styles with center alignment and H1 with left alignment.
Also, styles can be applied not only to color and fonts but also to effects.
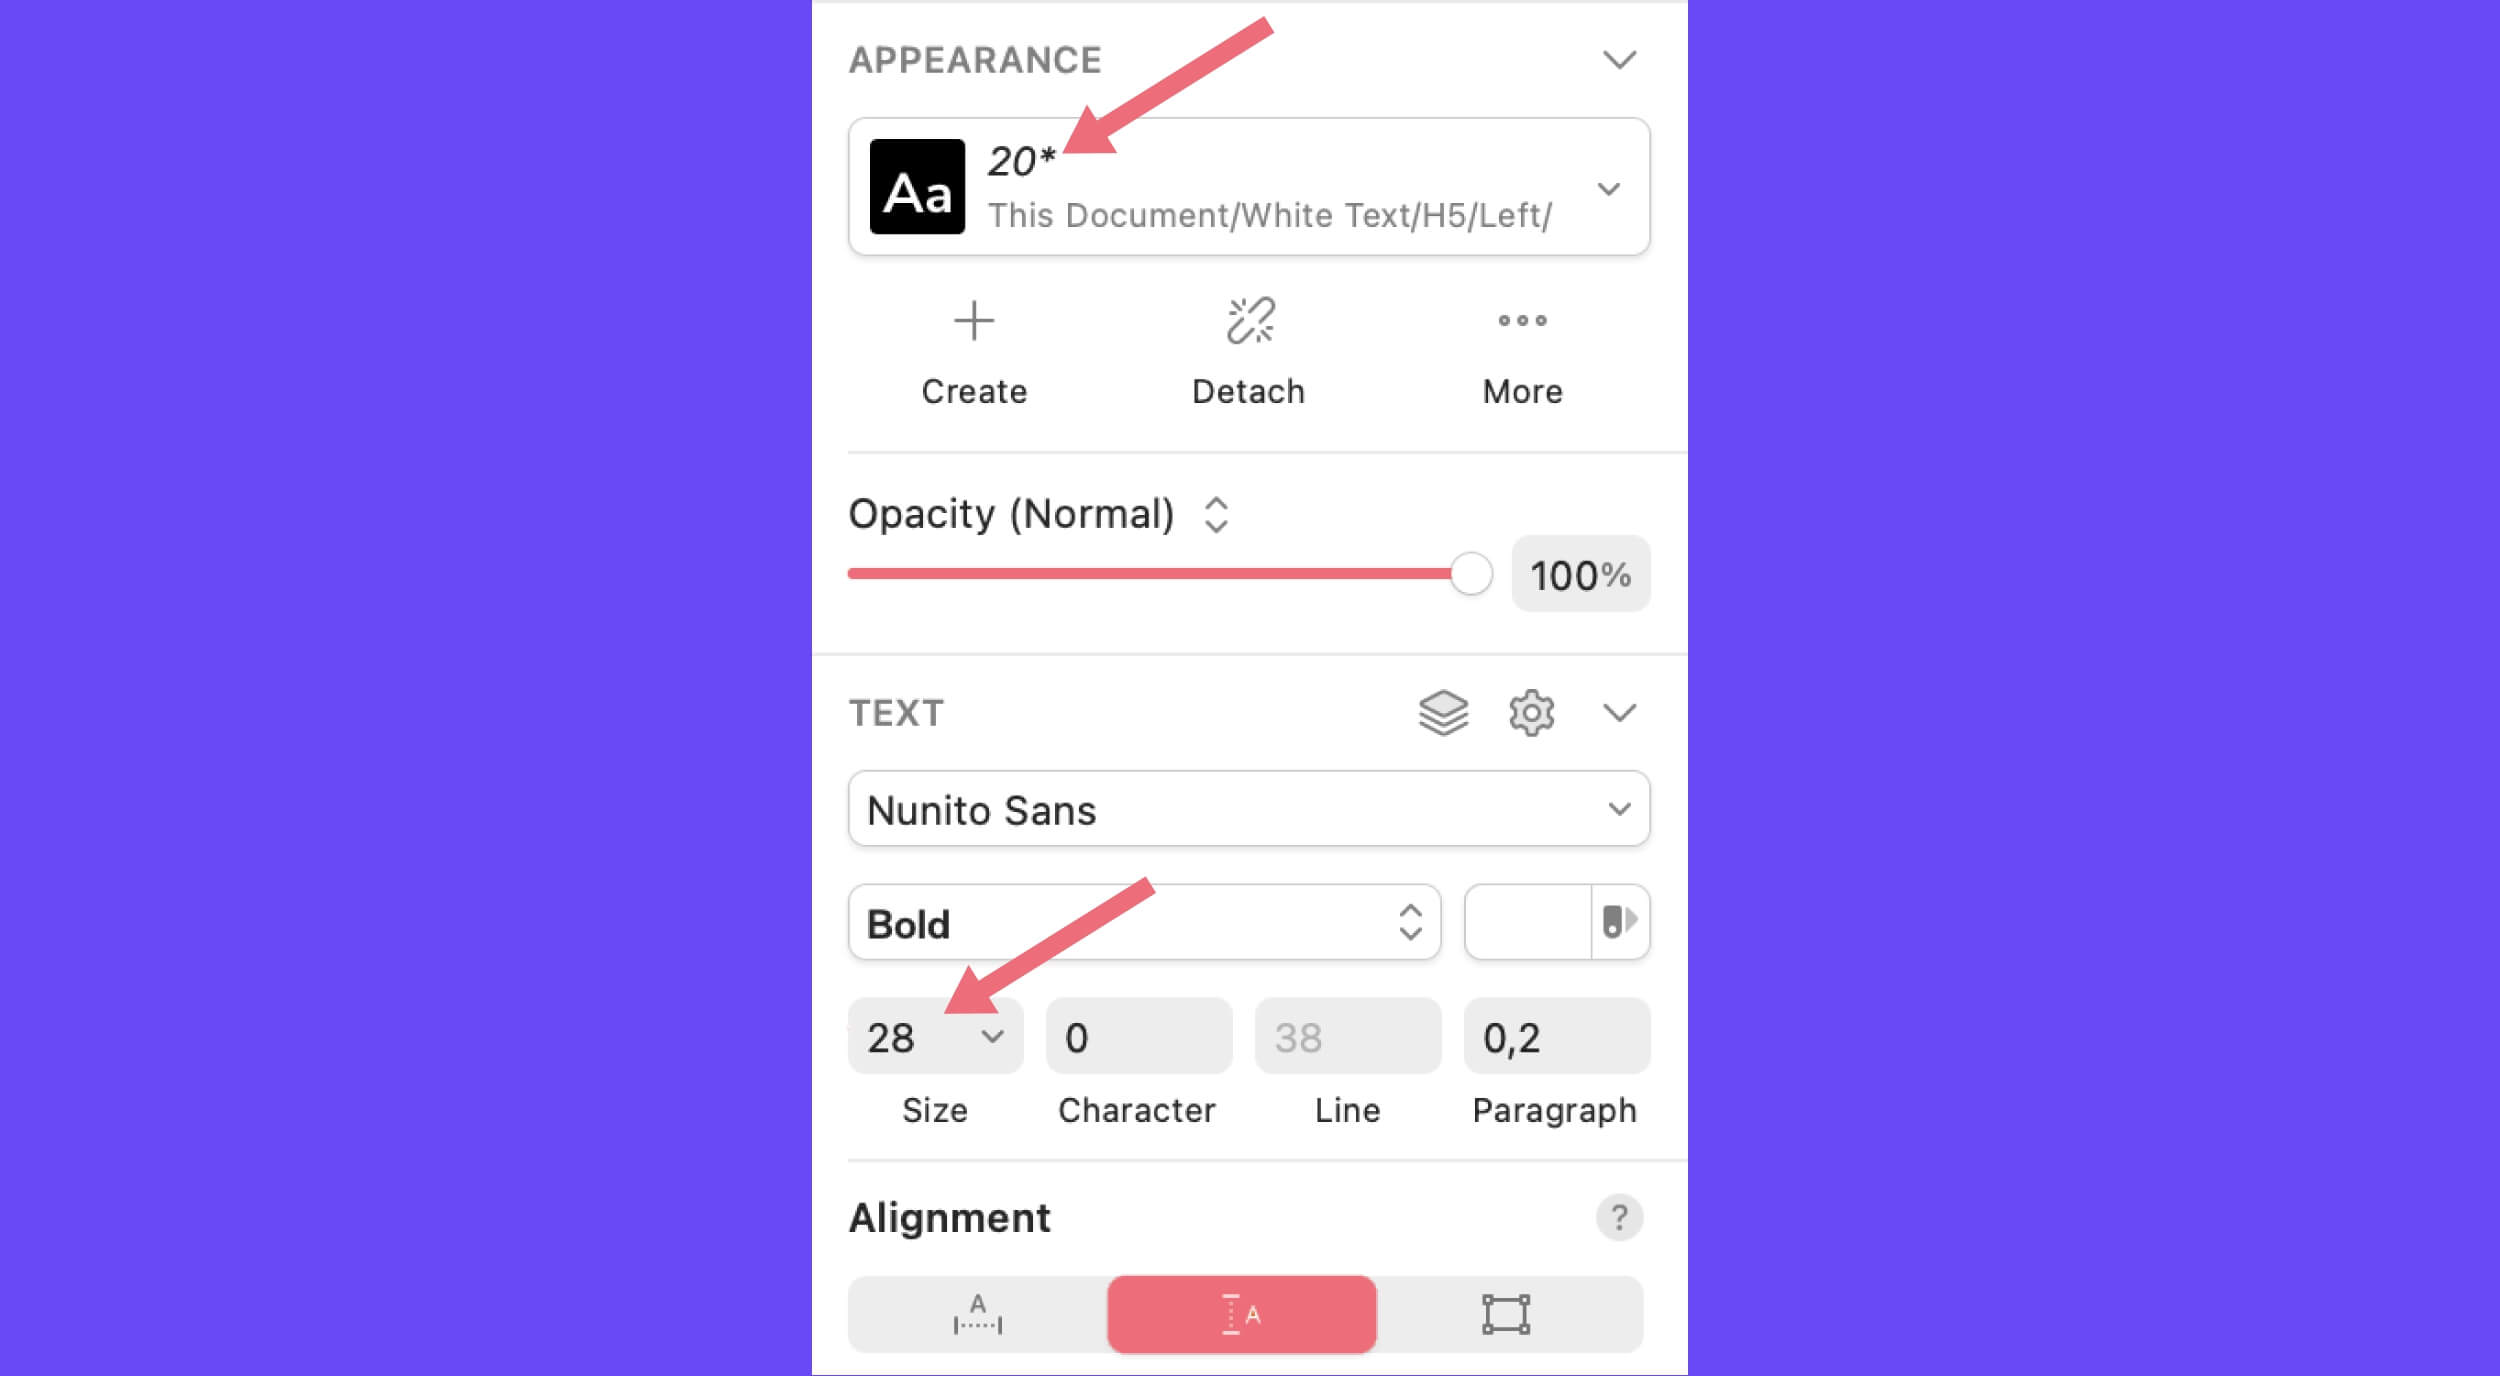
Check font parameters. If the font in Figma is visually different from the font in the Sketch, check if the font in the Sketch is broken. If there is a star next to the font name, then this font was broken and does not match the library in Sketch. Click the Detach button to see its real parameters.
If you do not see the font parameters in Sketch, most likely the font used in the design is not installed on your computer. Download the font (for example from the Google Fonts Library, install it on your computer, and restart the Sketch to see the font options.
Summary
Hopefully you found this Figma tutorial on importing your Sketch project to Figma useful. Follow Windmill on LinkedIn for more practical design advice. Figma is a key tool that Windmill uses as part of its digital product design and development services. Find out how Windmill can bring your product ideas to life.
Bio: Ilona Yeletska is a UX Designer at Windmill. Since joining Windmill’s design team, she has worked on the design for the Windmill website and is currently working on a fintech product.


